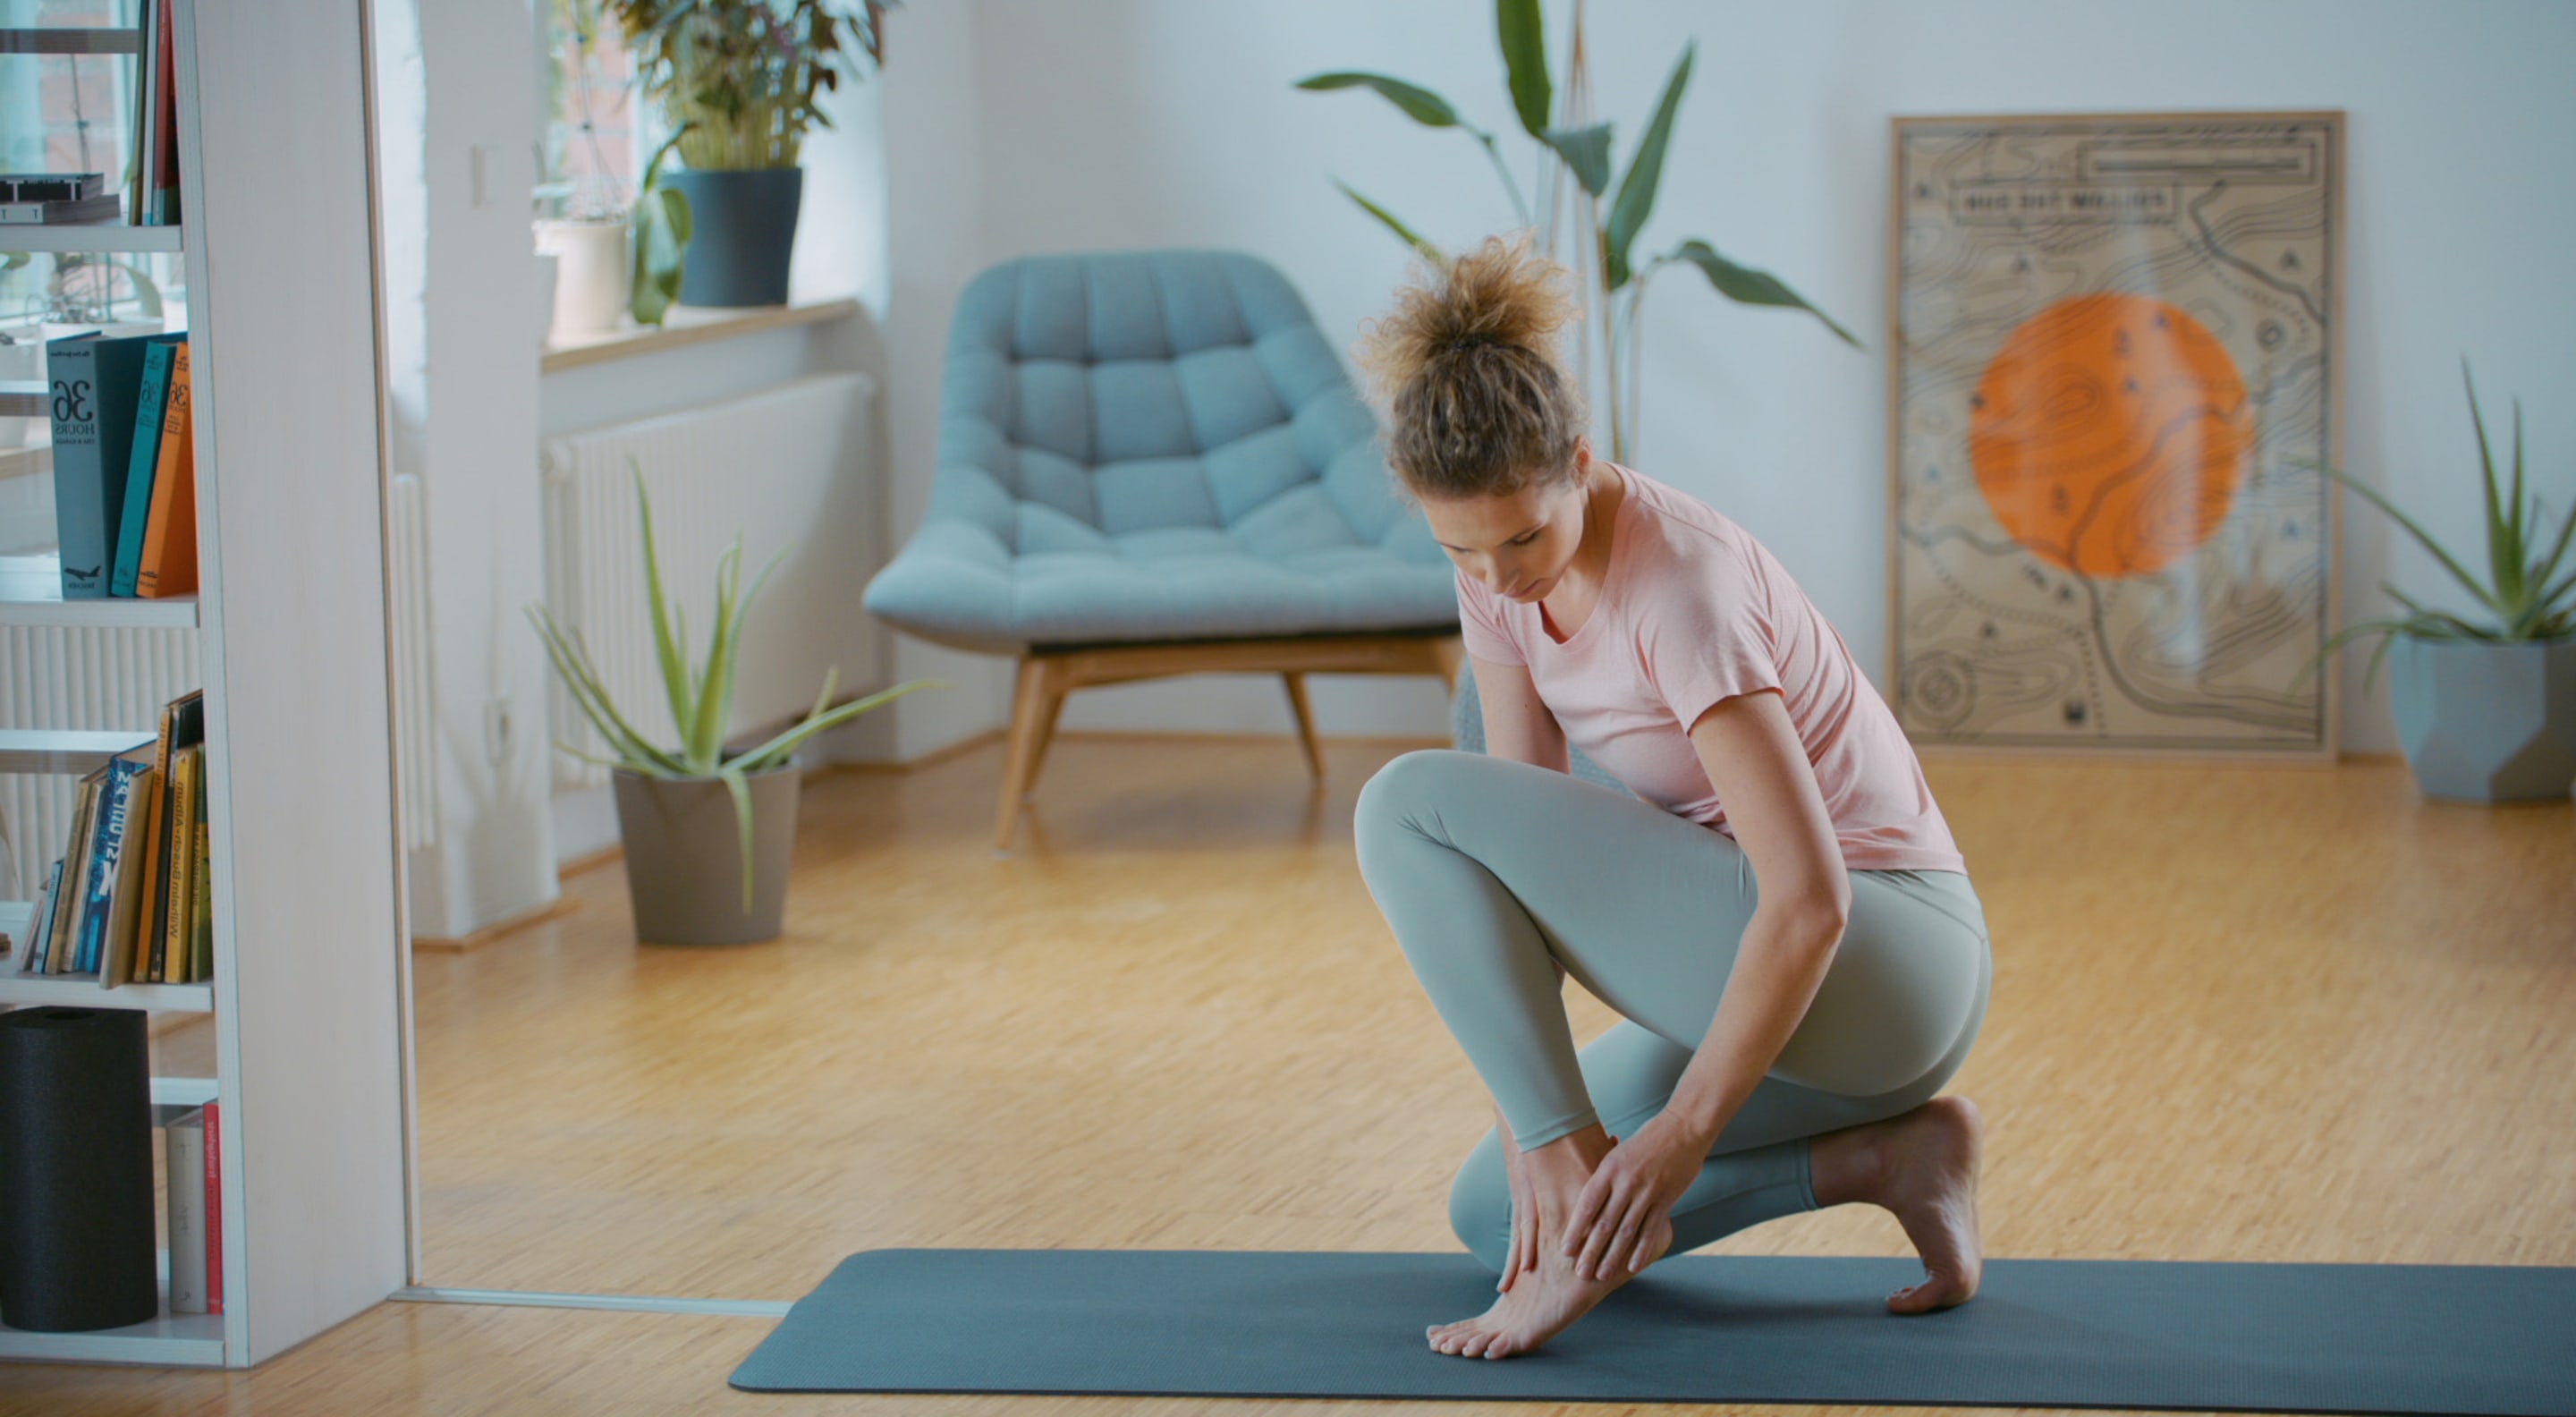
Heel spur exercises
Supportive for prevention and pain relief
Are you among the estimated 10% of people who have a heel spur? Then you’ll know how painful a heel spur is and that feeling as though you are constantly walking on a thumb tack. Here’s the good news: with targeted heel spur exercises, you can actively soothe it yourself. Most people can be rid of their pain with heel spur exercises, without needing any surgery.
With heel spur treatment, it’s especially important to restore the natural tensile characteristics of the tissue running along the sole of your foot (your plantar fascia). You should also work on improving mobility in your sacroiliac joint. That’s because excessive tension in your calf and foot muscles make a heel spur more likely. As a final step in your heel spur therapy, you should strengthen your foot muscles.
Your calf pain exercise program:
- Myofascial self-massage
- Triggering deep stress points
- Mobilization and stretching exercises
- Exercises for activation and strengthening
3-5 times a week
Do these heel spur exercises three to five times per week for optimum results.
Get well soon!
Do the heel spur exercises also as pain prevention.
Myofascial self-massage for heel spur
In your foot, myofascial tender points are most common in places where the connective tissue attaches to the bone (the enthesis). This is true whether your heel spur is on the underside or at the back of your foot. You can do a myofascial self-massage to help you reduce the pain. If you have a heel spur on the bottom of your foot (inferior heel spur), loosen tightness in the sole of your foot. If your heel spur is on the back of your heel (posterior heel spur), treat your calf/Achilles tendon. Be careful: don’t put too much pressure on the painful point of the heel spur.
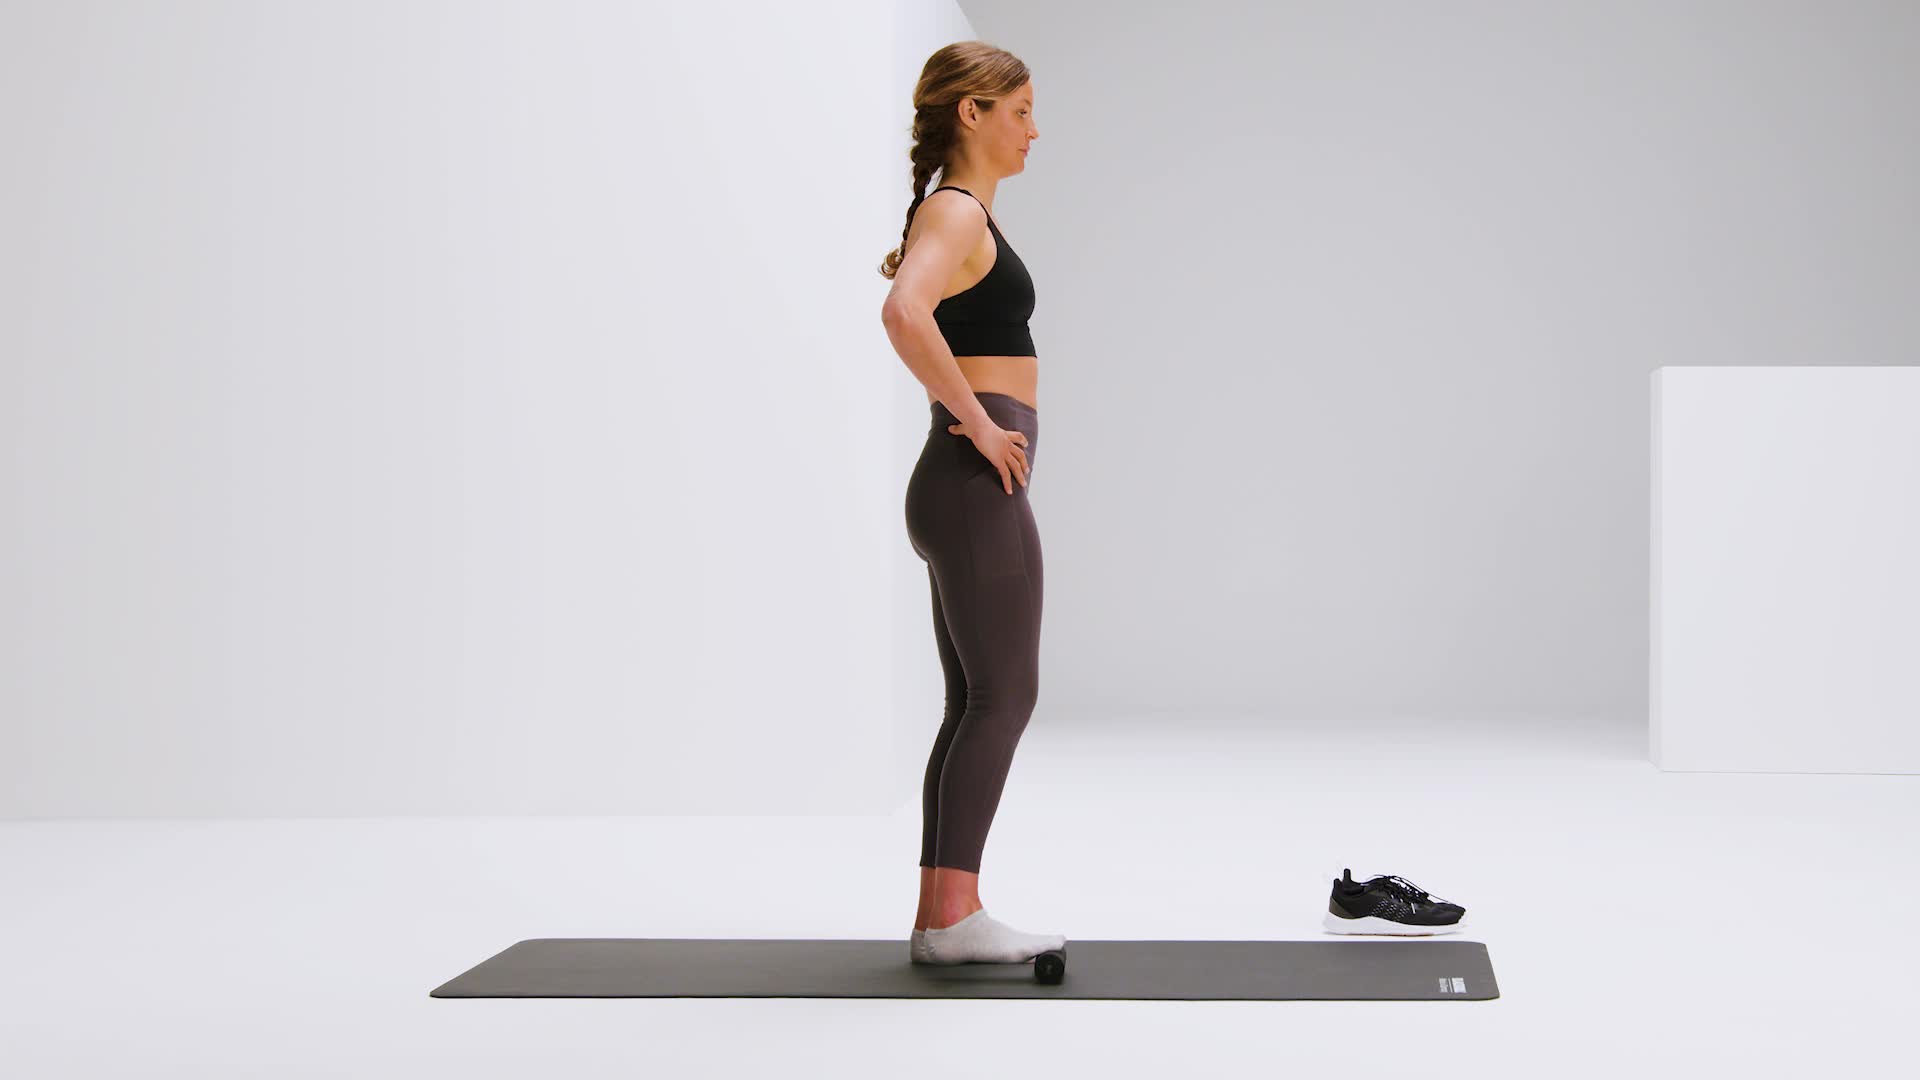
Heel spur massage exercise: releases tightness in the sole of the foot
Standing up, place the MINI centrally under the sole of your foot, and let your toes hang loosely down. Shift your weight onto the foot that’s on the MINI fascia roller.
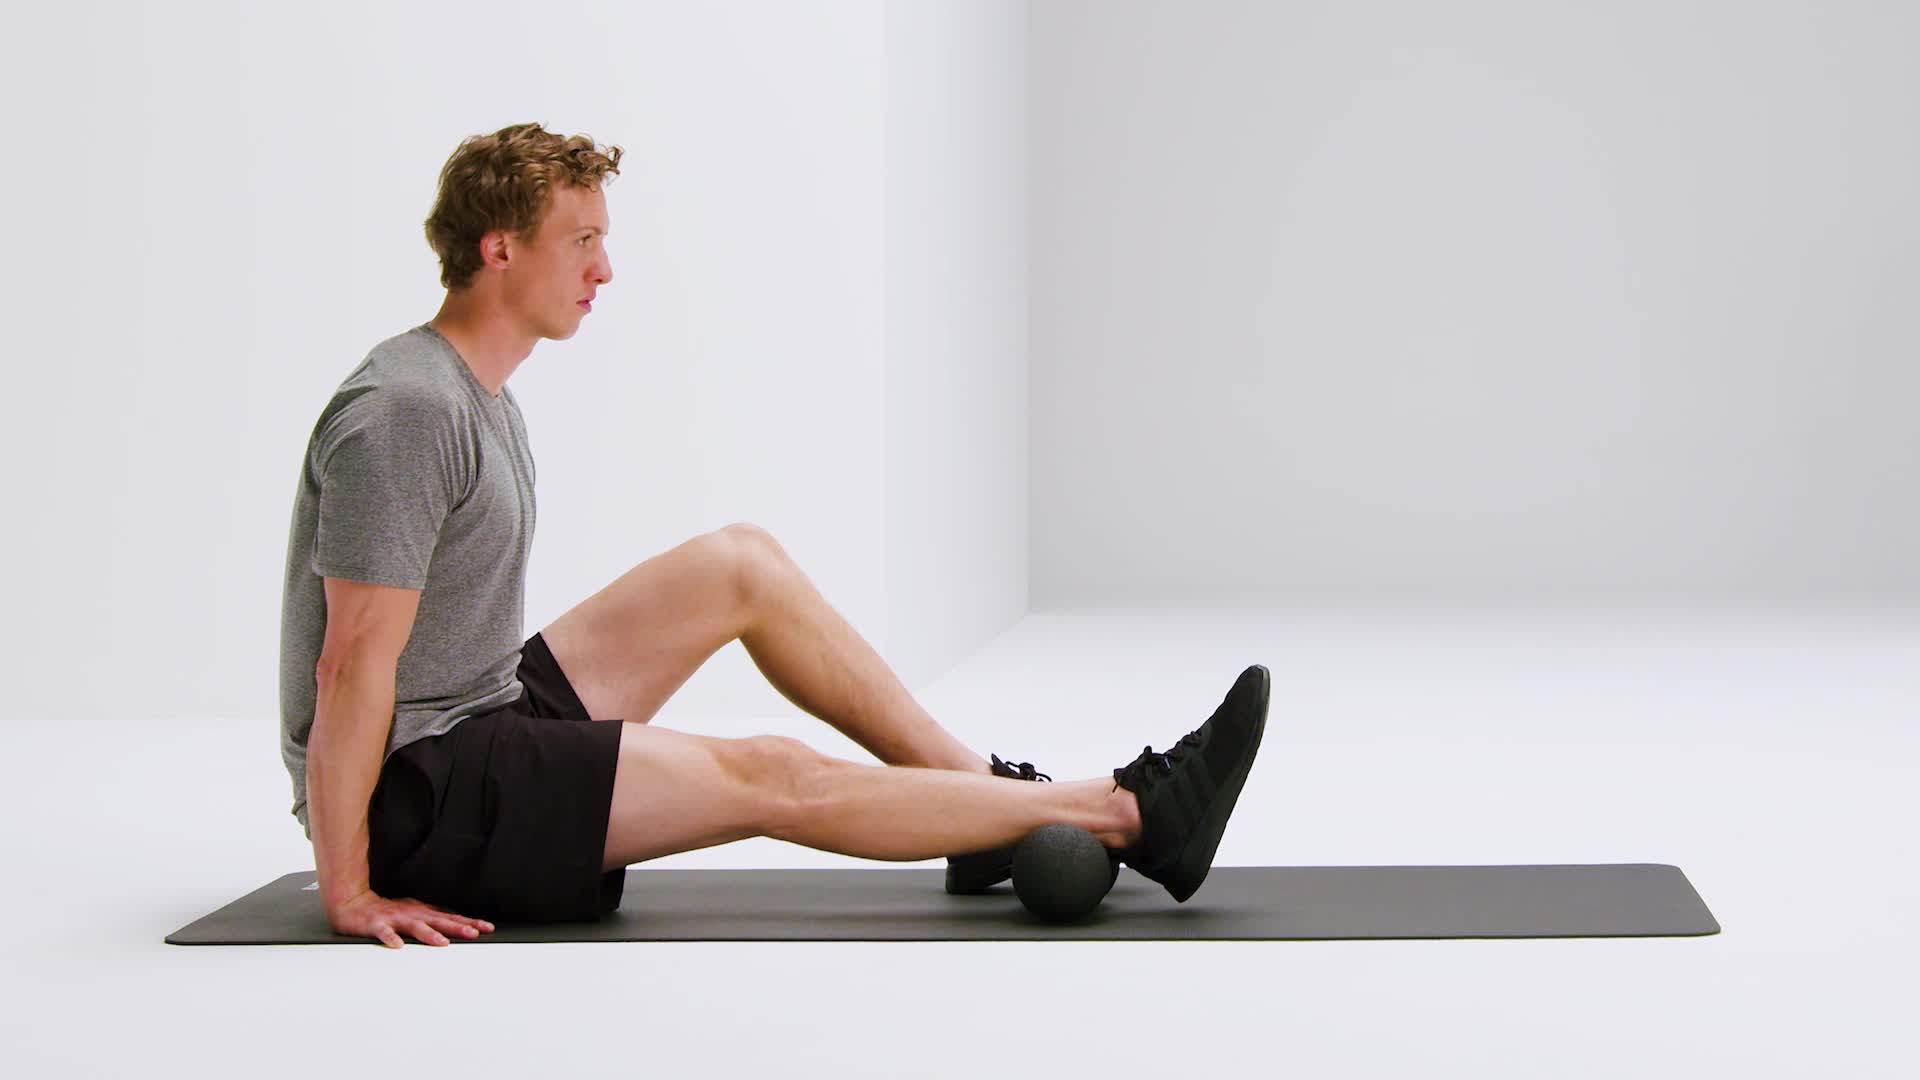
Heel spur massage exercise: releases tight calf muscles
Sit on the floor with legs outstretched. Plant one foot down on the floor with the knee up, and place the other calf onto the DUOBALL. Depending on the size of your calf, the smaller 8 cm or the larger 12 cm DUOBALL might be better for you when doing this heel spur treatment.
Releasing deep muscle tension associated with heel spur
After your myofascial self-massage, use the BLACKROLL® TRIGGER TMX® to release deep fascial adhesions. You can use the acupressure technique to work selectively into areas of deep tightness. If you have a heel spur on the bottom of your foot (inferior heel spur), work on the sole of your foot. If your heel spur is on the back of your heel (posterior heel spur), trigger your calf muscles. Here, we show you two variants of heel spur therapy.
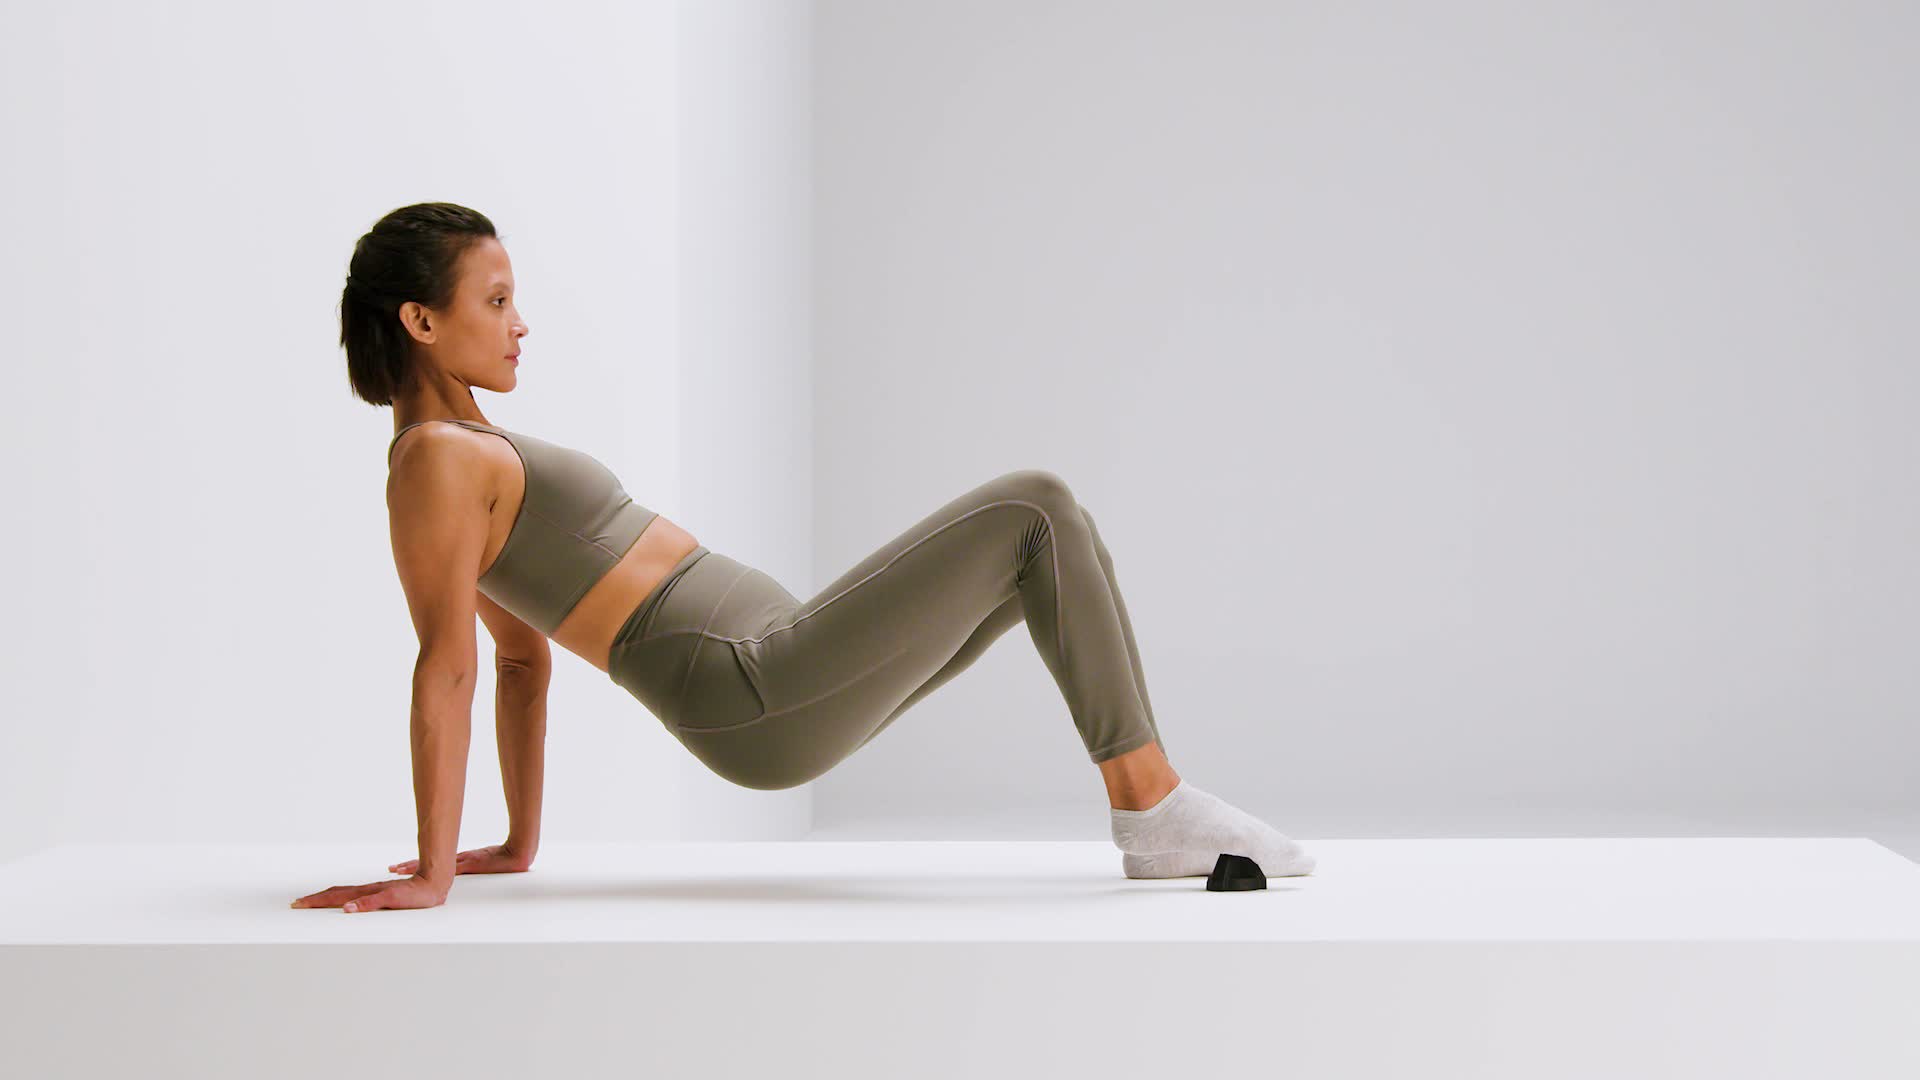
Heel spur trigger therapy: releases deep tightness in the sole of your foot
Sit on a stool, place the TRIGGER on the floor and put your foot on it. Maintain slight pressure. This is how you trigger the painful spot.
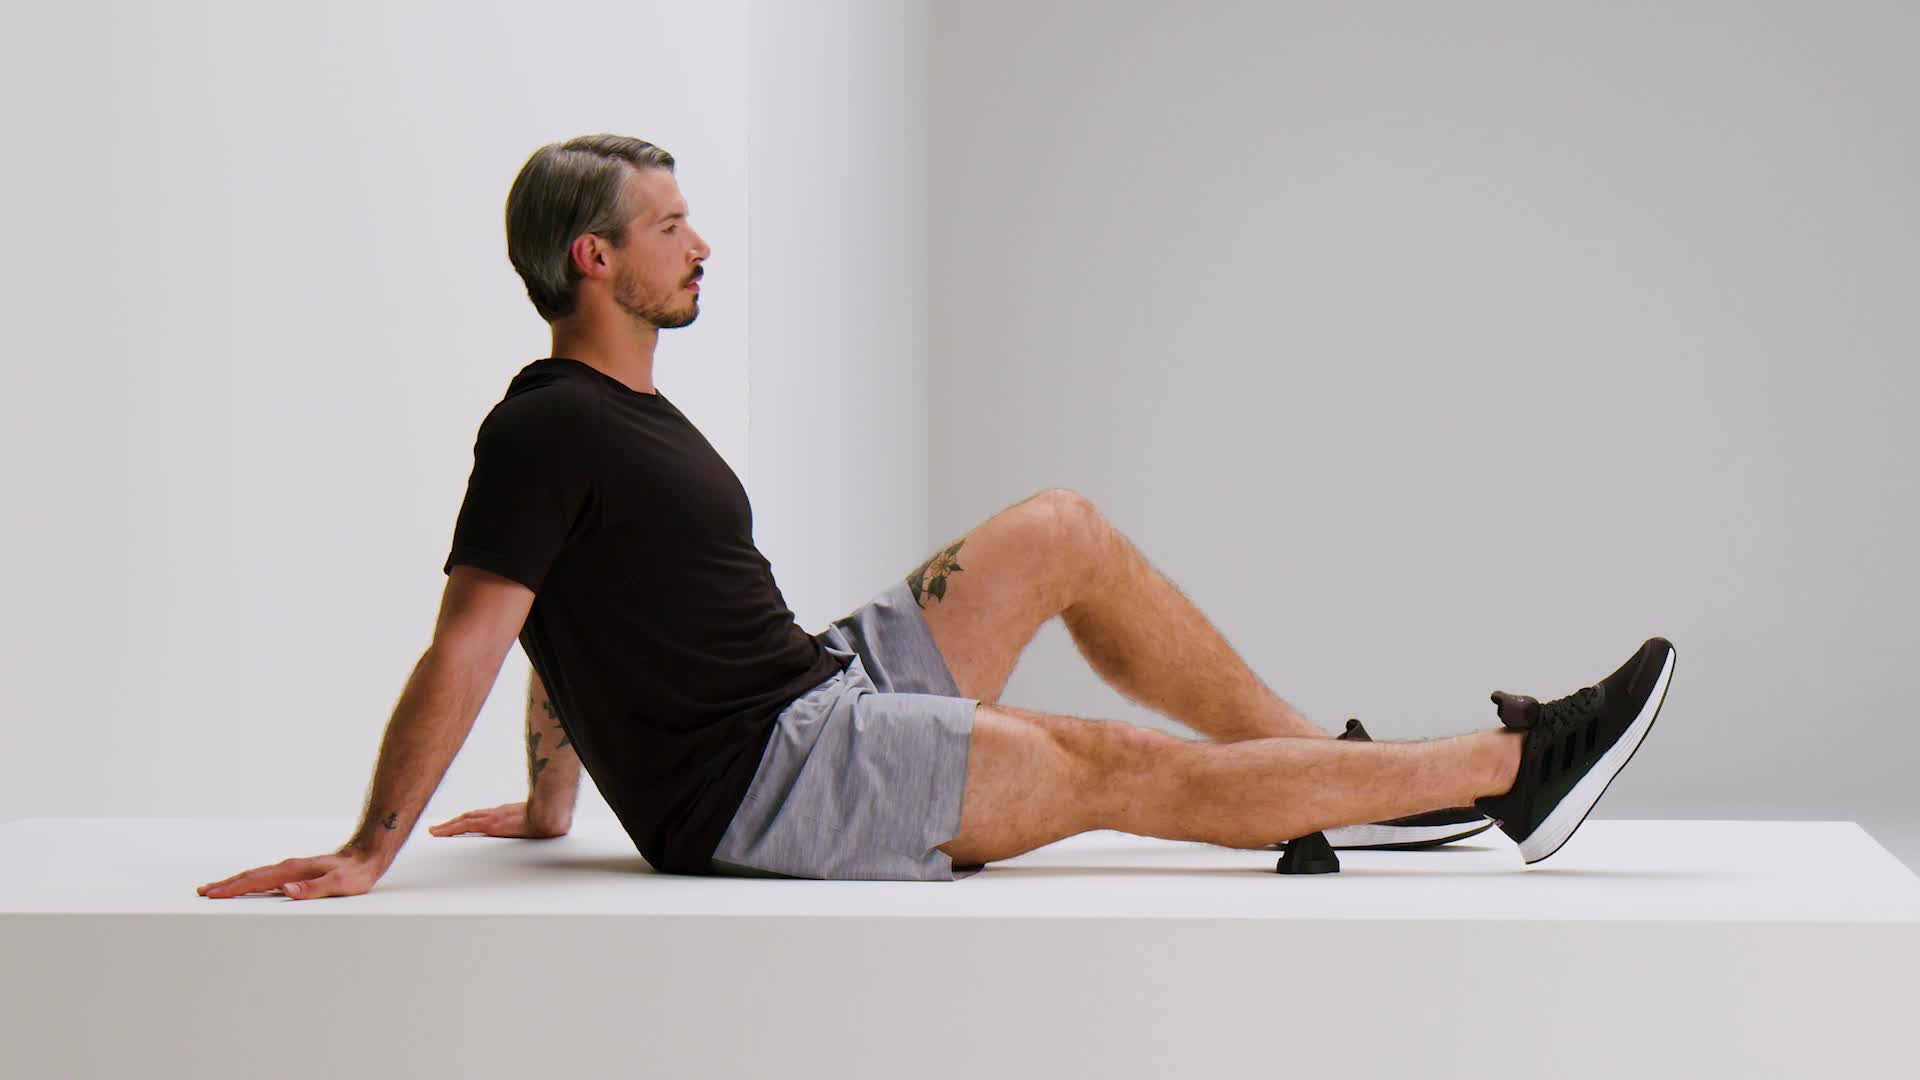
Heel spur trigger therapy: releases deep tightness in your calf
Start by sitting down with your legs stretched out. Place the TRIGGER on the floor and lay your calf on it. Seek out the point where you feel the most pain.
Mobilization and stretching exercises for heel spurs
You can reduce tension by doing targeted stretching exercises. Lack of movement in the sacroiliac joint (SIJ) often causes heel spurs. This creates blocks and increased tension in the calf and plantar fascia. The result is inflammation. You should therefore increase mobility in your sacroiliac joint (SIJ) as well as in your ankle.
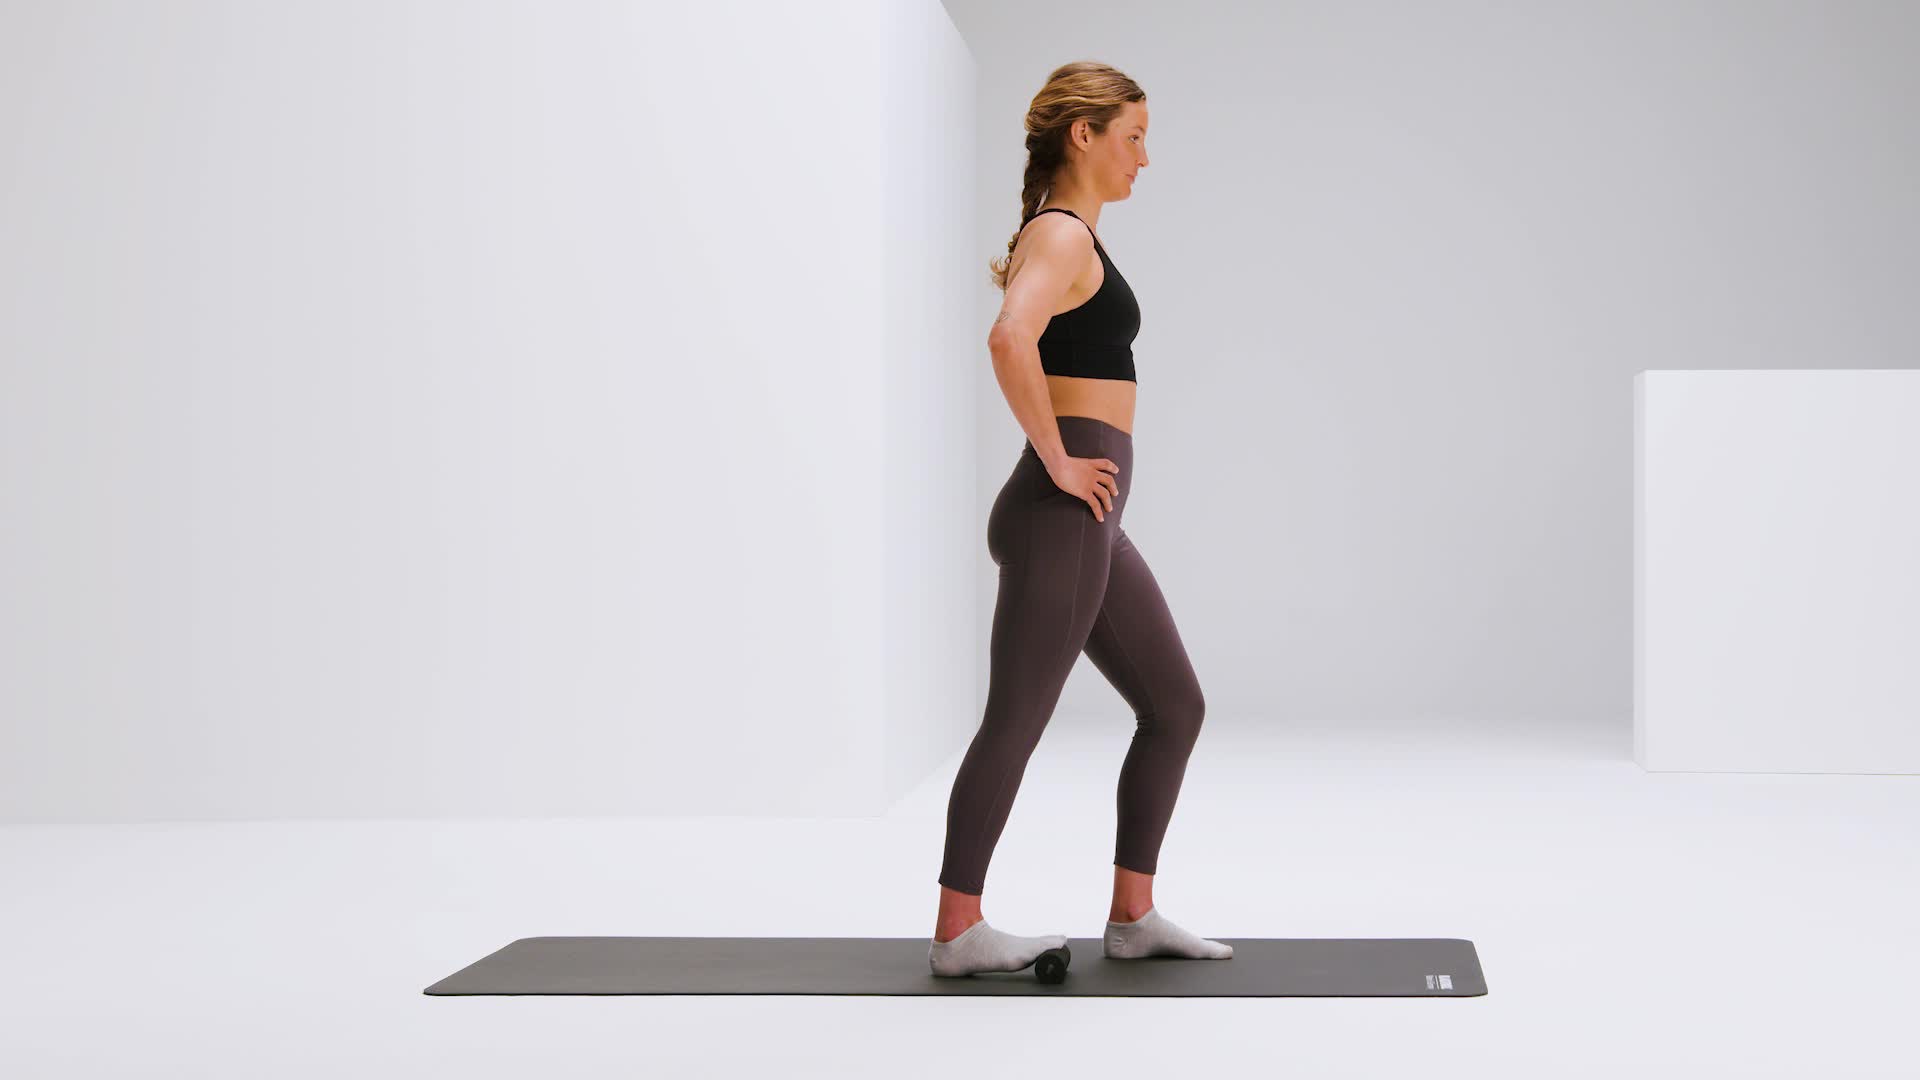
Heel spur stretching exercises: improves mobility in your ankle and midfoot
Start in an upright standing position, placing the ball of your foot onto the MINI. Bend your knee and shift your body forward to increase the stretch in your calf muscles and in the sole of your foot.
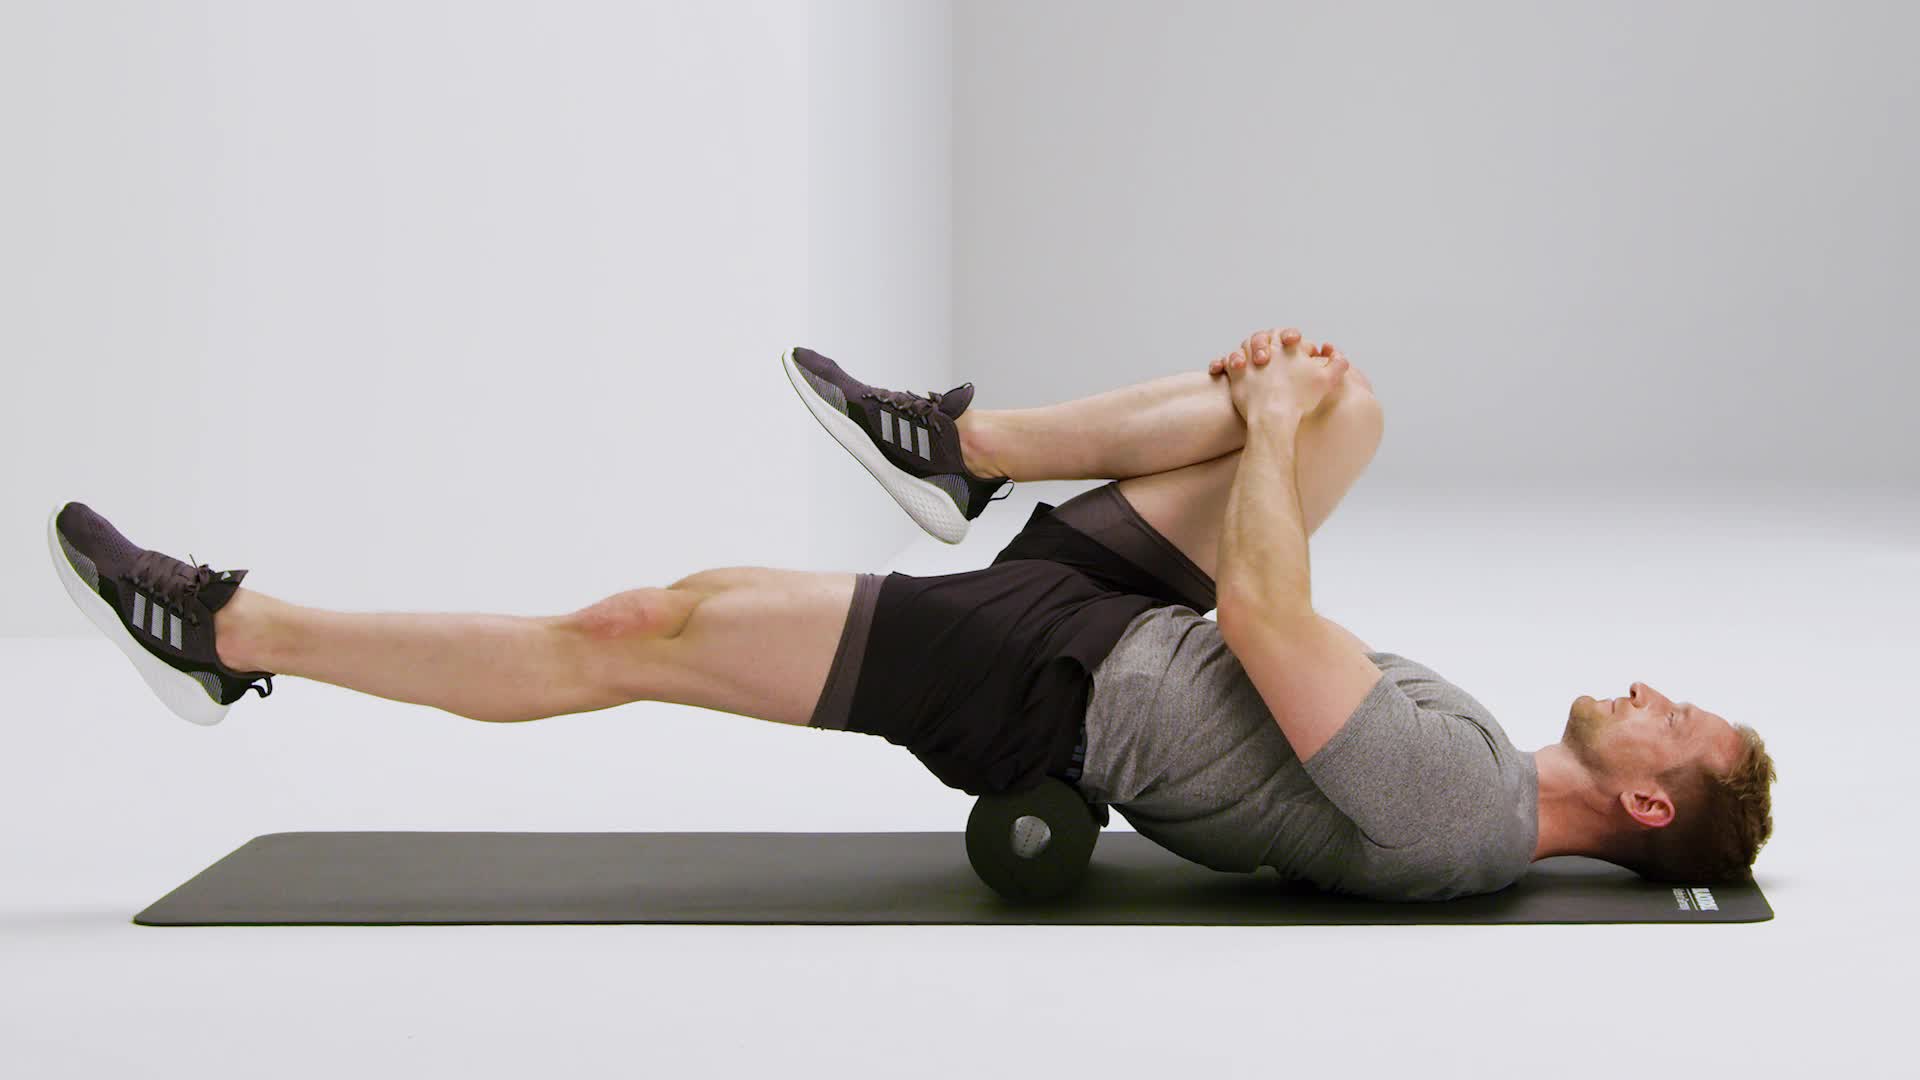
Heel spur stretching exercises: improves mobility in your sacroiliac joint
Place the BLACKROLL® on the floor and lay the lower part of your sacrum onto it. Using your hands, draw one leg toward your chest. Keep the other leg outstretched. Slowly rock back and forth with your outstretched leg.
Activation and strengthening exercises for heel spurs
Finish your heel spur treatment with an activation exercise. Gentle bouncing movements will strengthen your foot and calf muscles. Our aim is to stimulate connective tissue regeneration.
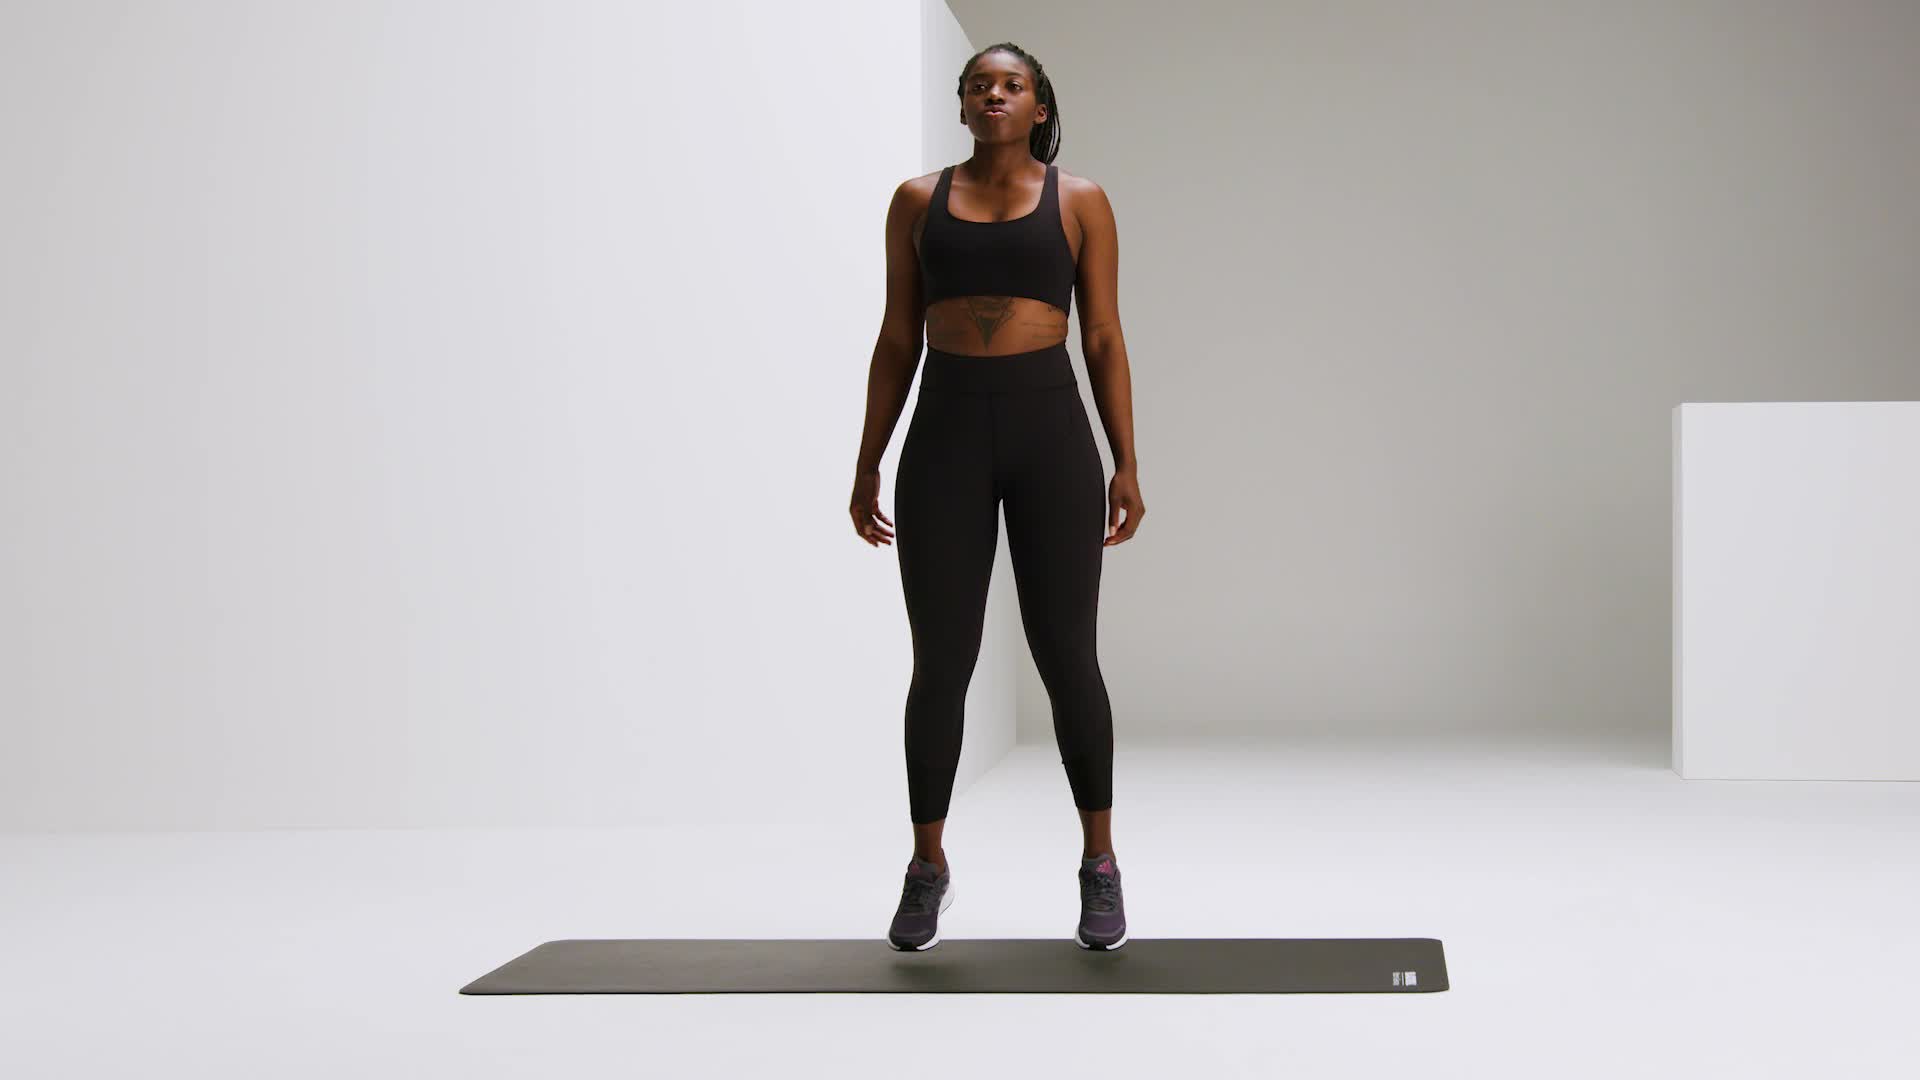
Heel spur activation exercise: strengthens calves and feet
Stand in an upright position, feet hip-width apart. Keep a slight bend in your knees. Do gentle bouncing movements on the spot.
No tool
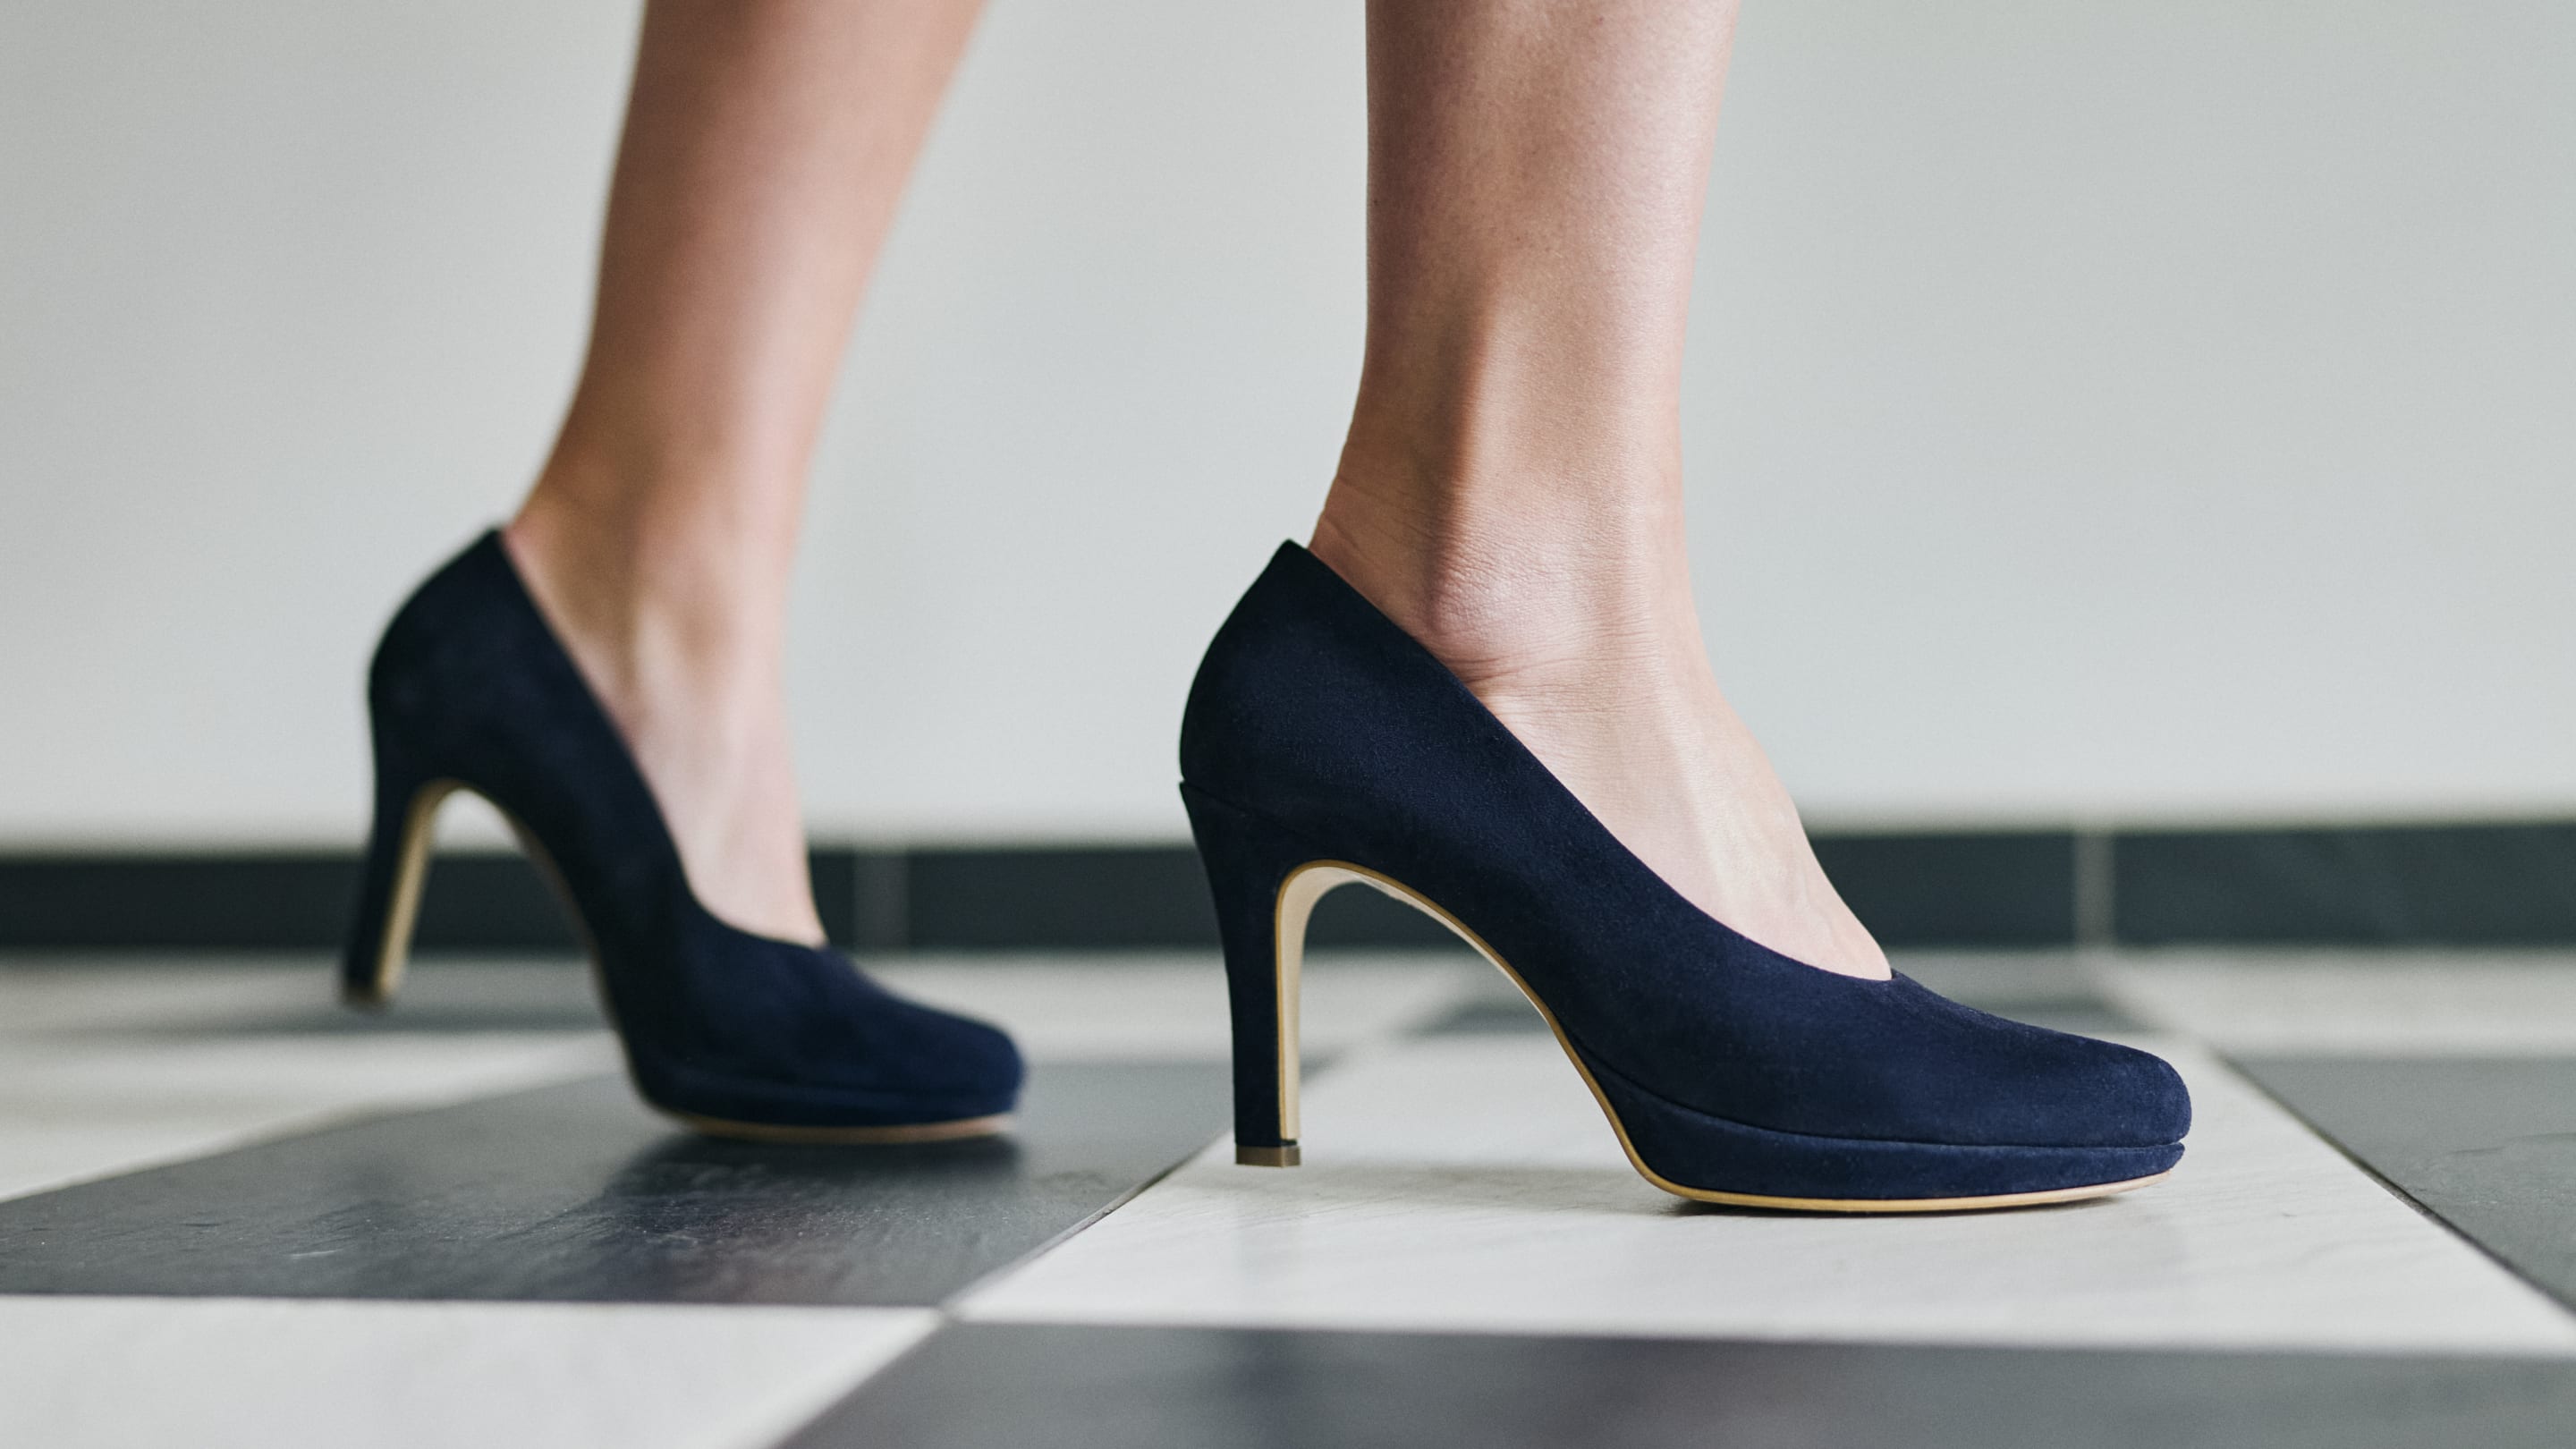
"When your foot strikes the ground, you feel like you’ve stepped onto a thumb tack.”
